Craig Stocks Arts Fine Art Photography and Artwork Duplication Services in Peoria and Central Illinois
Januay 19, 2011
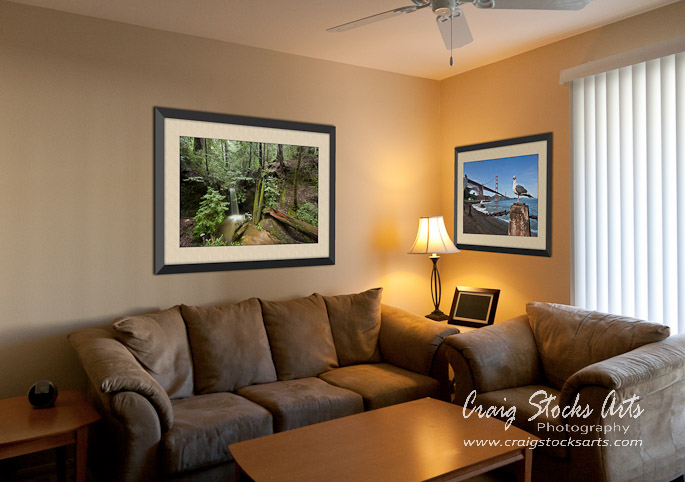
The large, framed photos on the wall of this living room aren't really hanging on the wall. In fact, the frames and mats aren't real either. They were added in Photoshop to help visualize the artwork in the space. It's also a great help for clients who are uncertain how to best display their photos, both in terms of size and choice of mat color.
There are lots of ways to approach the task. The most common approach is using Photoshop, but there are also a couple of ways to solve the problem with Adobe's Lightroom program. This series of video tutorials outlines a few different approaches. I've also included a third video that shows how to easily create the digital frames and mats that I used in the examples.
The first video outlines ways to hang digital artwork using Lightroom. The approaches in Lightroom are very easy to set up, and also allows more flexibility trying different photos, sizes and arrangements. The drawback with Lightroom is that it can't work with perspective views, so you're limited to straight-on views of the wall.
The second video approaches the challenge using Photoshop and the Vanishing Point filter. The technique is a little more involved, but the payoff is quite a bit more flexibility for the angle of view of the room as well as frame and mat sizes and colors.
The third video explains how I used a combination of layer styles to create the frame and mat. It also shows the process of creating an action to record the steps so that they can be applied the same way to other images in the future.